How to find, set up, and send customer dashboard access?
Accessing and sharing the customer dashboard in InvoiceQuick is a great way to provide customers with a summary of their invoicing and overall status. Follow this step-by-step guide to find, set up, and send customer dashboard access:
- Go to the Customers Tab:
- Log in to your InvoiceQuick account and access the dashboard.
Click on the "Customers" tab located in the navigation menu.
Select a Customer or Set Up a New Customer (if needed):
- If you already have customers listed on the Customers page, click on the name of the customer for whom you want to provide dashboard access.
- If the customer is not listed yet, follow this guide on how to add a new customer: How to Add a Customer.

- Access the Customer Dashboard:
- After clicking on the customer's name, you will be directed to their detailed profile page.
Click on the "Dashboard" tab, usually located on the top navigation or in a sidebar menu.
Generate a Customer PIN:
- On the customer's dashboard page, you'll see an option to set up a PIN for secure access.
To generate a PIN, click on the "Generate PIN" or "Set Up PIN" button.
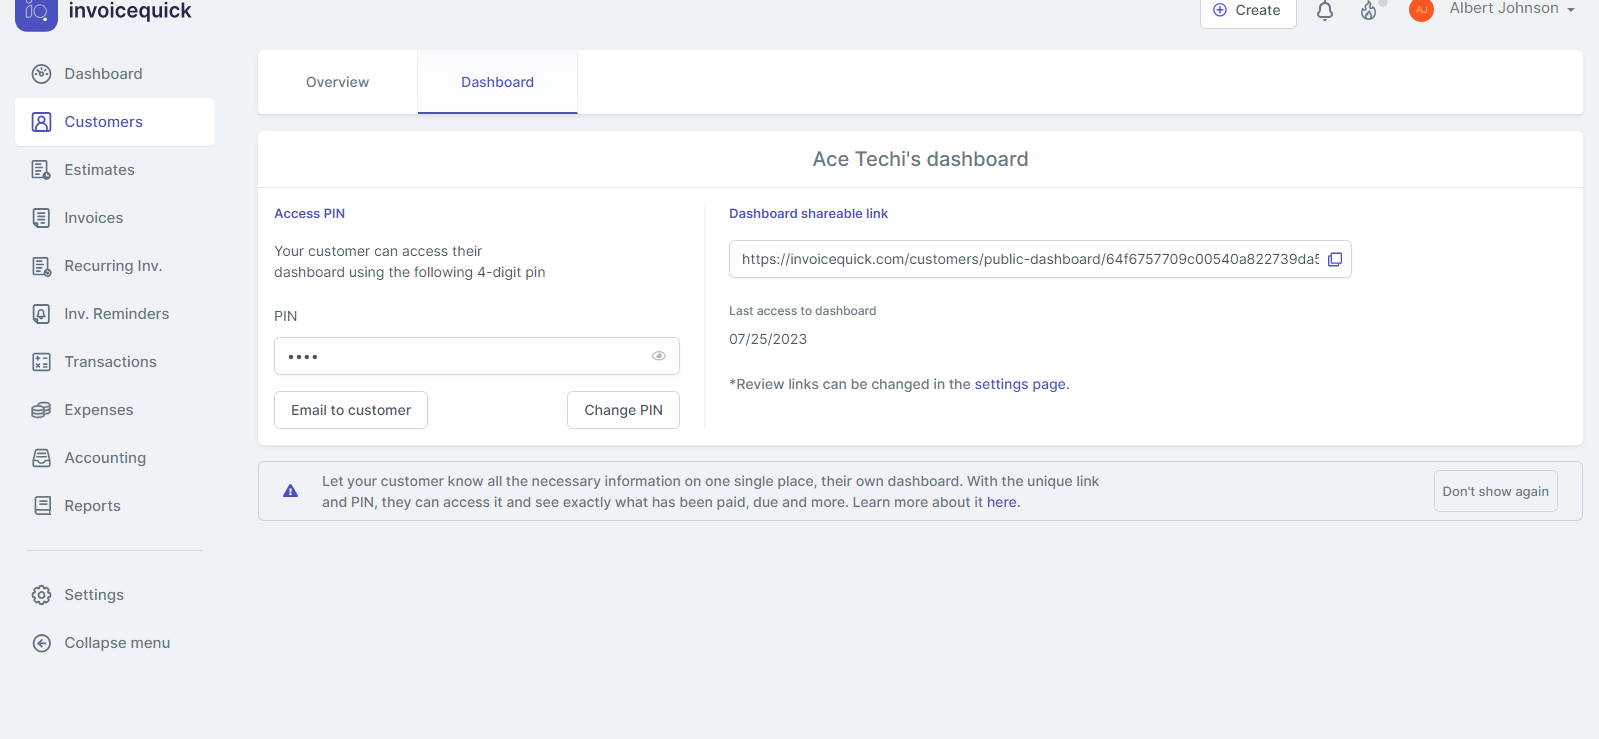
- Send the Customer PIN:
- Once the PIN is generated, you can send it to the customer using their registered email address.
- InvoiceQuick will automatically create an email template containing the PIN for you to review and send.

Customer Dashboard Access:
- Advise the customer to visit the link you provided in the email.
- Upon accessing the link, they will be prompted to enter the PIN to gain access to their summary invoicing page and overall status.

This page provides an overview of their current invoicing status:

Payment Summary:
- Total Invoices: The total number of invoices associated with your account.
- Paid Invoices: The number of invoices that have been successfully paid.
- Unpaid Invoices: The number of invoices that are yet to be paid.
- Approved Estimates: The count of estimates that have been approved.
- Pending Estimates: The number of estimates awaiting approval.
Invoices:
The table displays a list of your invoices with the following details for each invoice:
- Invoice #: A unique identifier for each invoice.
- Issued: The date when the invoice was generated.
- Due: The due date for payment.
- Job Description: A brief description of the job or services provided.
- Total: The total amount specified in the invoice.
- Amount Due: The outstanding amount remaining to be paid.
Estimates:
The table provides a list of the estimates with the following details for each estimate:
- Estimate #: A unique identifier for each estimate.
- Issued: The date when the estimate was created.
- Due: The due date for customer approval.
- Job Description: A brief description of the job or services proposed in the estimate.
- Total: The total amount specified in the estimate.
- Amount Due: The outstanding amount if any, after the estimate is approved.
Search Invoices:
They have the option to search for specific invoices by using relevant keywords or invoice numbers. Simply enter search term in the provided search box to filter invoices effectively.
By following these steps, you can efficiently find, set up, and send customer dashboard access in InvoiceQuick, enabling customers to view their summary invoicing information and overall status in a secure manner.