How to create custom customer fields?
Step-by-Step Guide: Creating Custom Fields for Customers
Method 1: Creating Custom Fields from the Customers Page
Log in to your InvoiceQuick account and access the dashboard.
Click on the "Customers" tab, usually located on the top navigation menu.
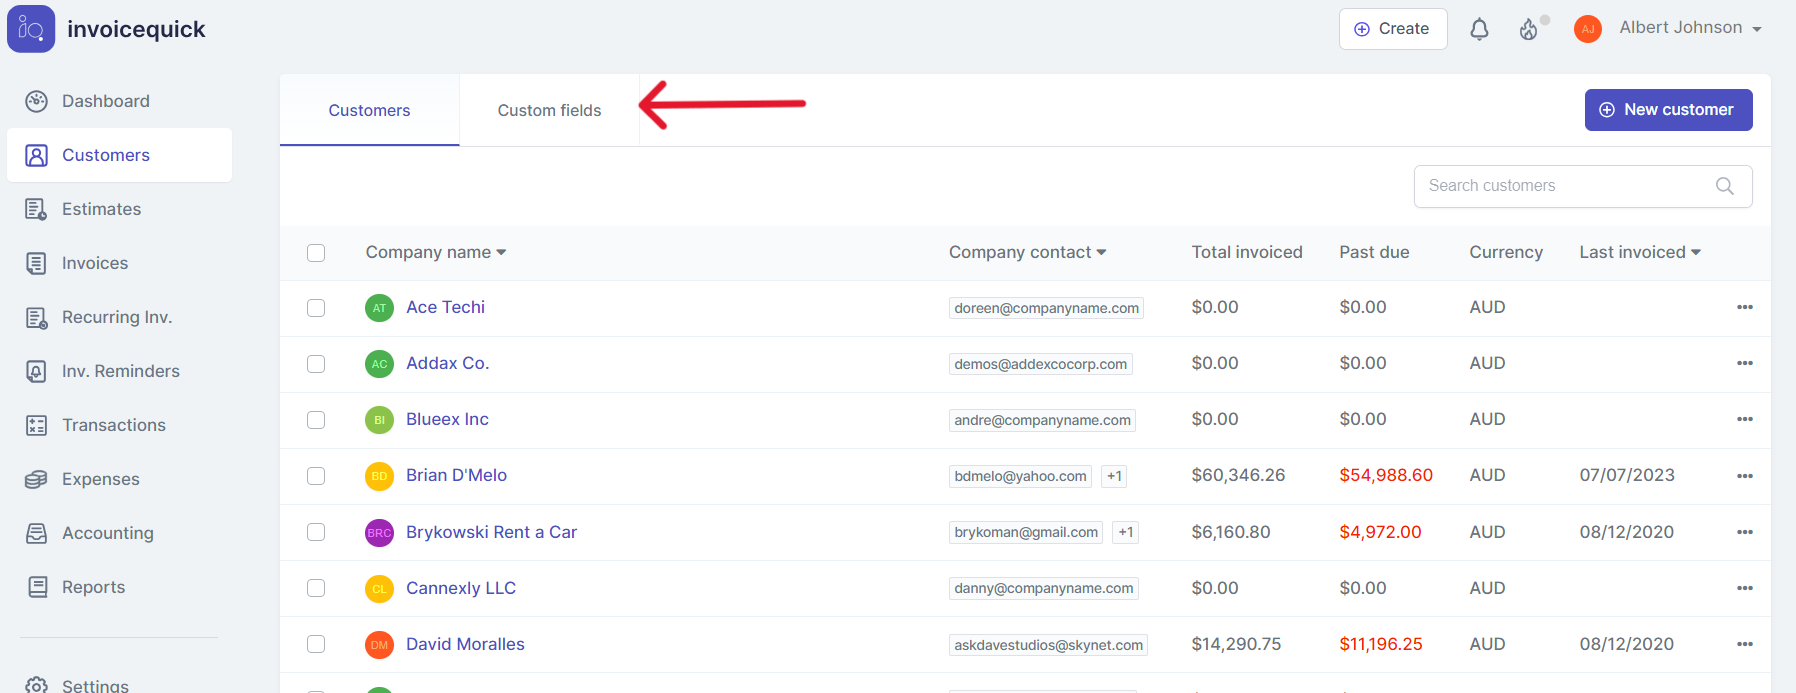
On the "Customers" page, you'll see a list of existing customers (if any). To create custom fields for customers, click on the "Custom Fields" option, which is often situated as a separate tab or sub-menu under the "Customers" section.
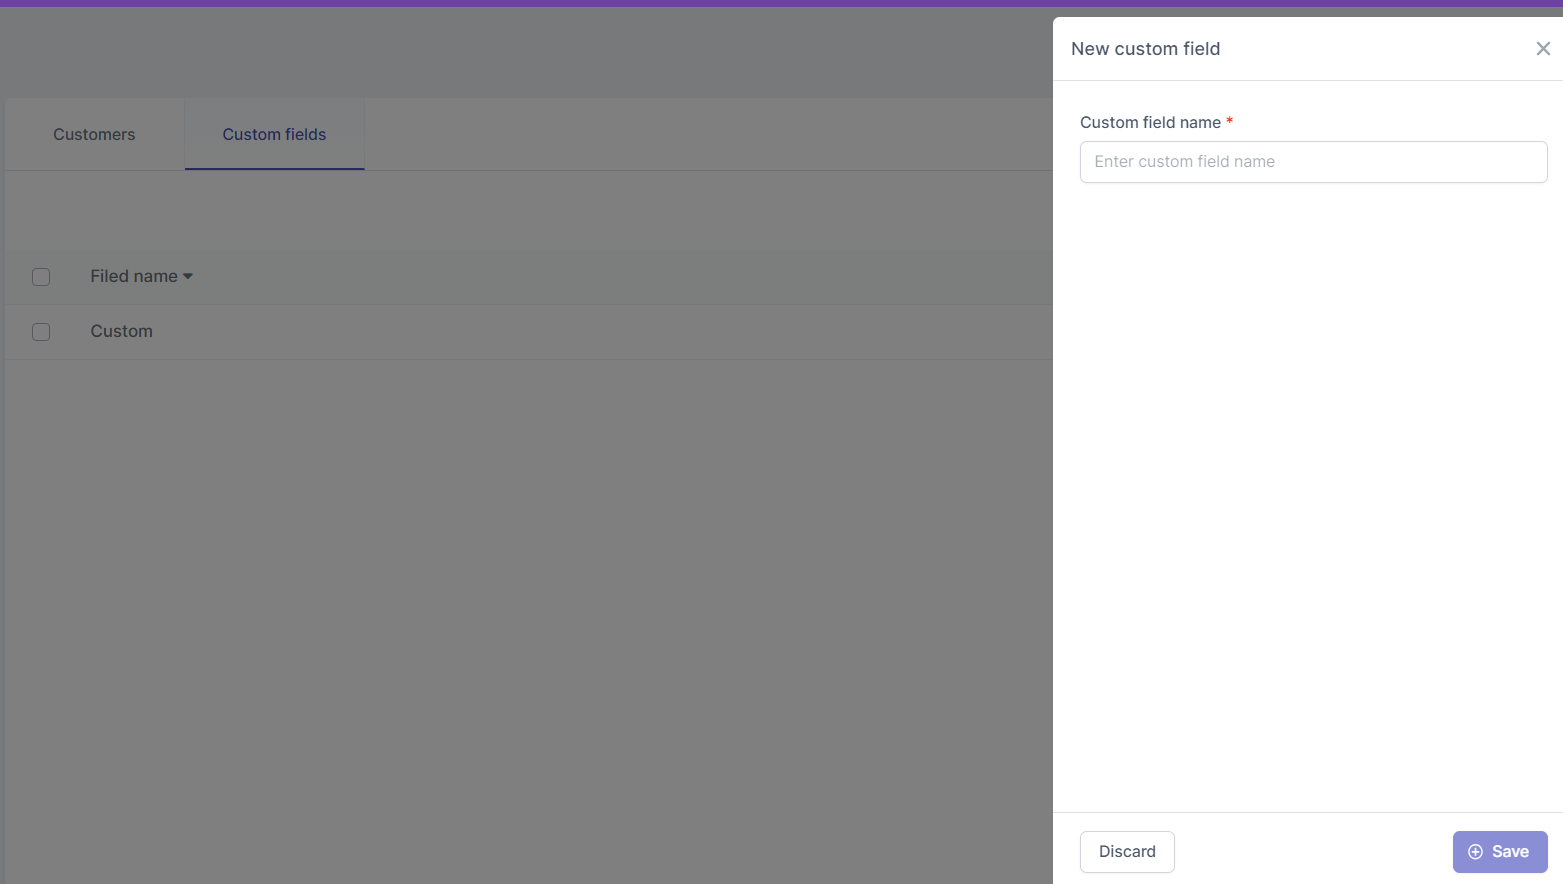
Once on the "Custom Fields" page, you can view any existing custom fields for customers. To add a new custom field, look for the "Add New Custom Field" button and click on it.
A form will appear, allowing you to define the custom field properties.
Name the Custom Field: Give the custom field a relevant and descriptive name.
Save the Custom Field: Once you've configured the custom field, click the "Save" button to add it to the customer's profile.
Method 2: Creating Custom Fields while Adding a New Customer
From the InvoiceQuick dashboard, click on the "Customers" tab in the top navigation.
On the "Customers" page, you'll have the option to add a new customer. Look for the "Add New Customer" button and click on it.

A form will appear, prompting you to enter the details for the new customer.
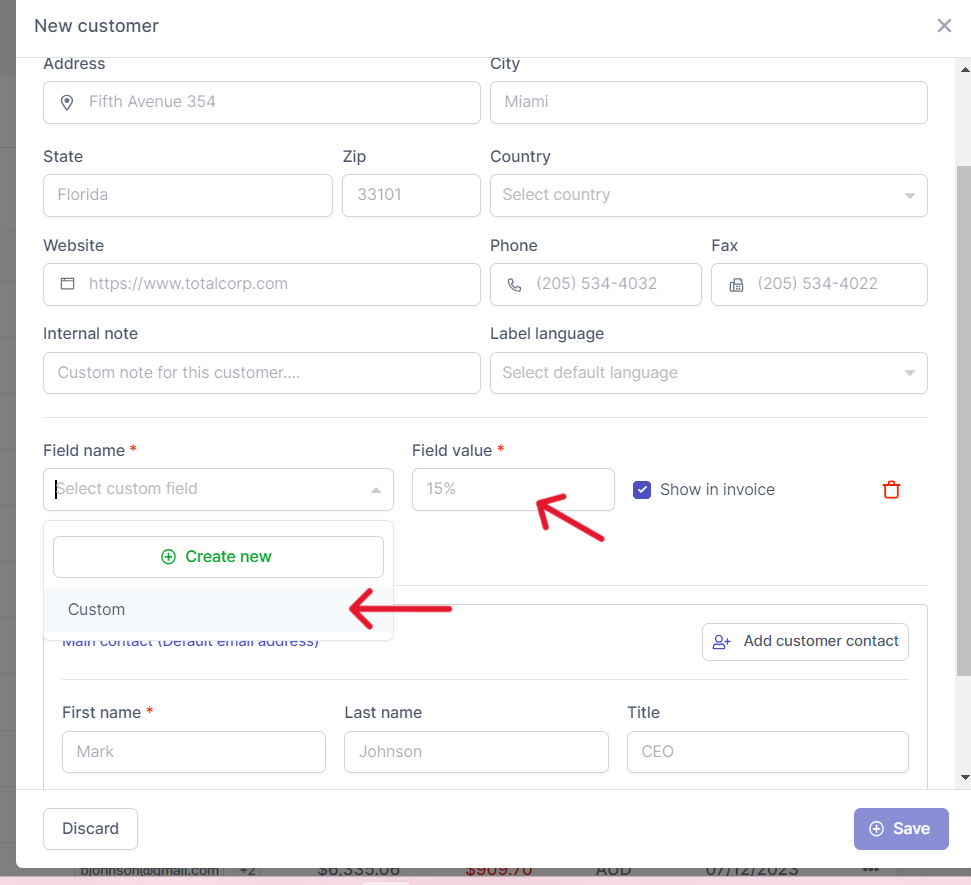
While filling out the customer's information, you'll notice an option to "Select Custom Field" and "Create new." Click on "Create new.".
Name the Custom Field: Provide a name for the custom field you want to add and click save.
Add Field Value (if applicable): If your custom field is a drop-down list or checkbox, you can add specific values or options for the customer to choose from.
Congratulations! You have successfully created custom fields for your customers in InvoiceQuick, allowing you to collect and manage additional customer-level data according to your specific business needs.