How to change starting invoice number
Here is how to change your starting invoice number:
Go to Settings:
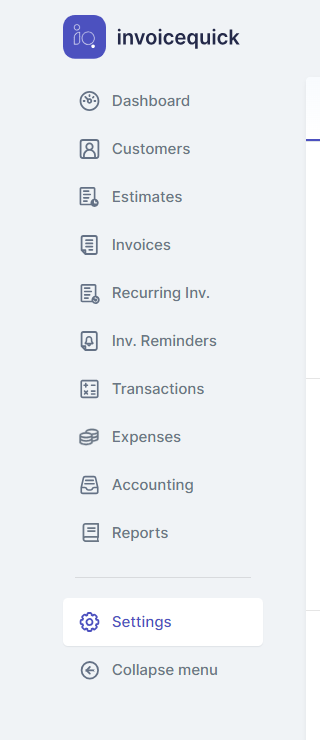
In the dashboard or main menu, locate and click on the "Settings" option.
Access Invoice Settings:

- Within the Settings section, look for an option related to "Invoice."
Click on this option to access your invoice settings.
Scroll Down to Invoice Options:
In the Invoice Settings section, scroll down to find the "Invoice Options".
Choose Start Invoice Number:

- Among the invoice options, you should find a field or setting that allows you to specify the start number for your invoices.
Click in this field and enter the desired starting number for your invoices. You can typically type in the specific number you want.
Save Changes:
- After entering the start invoice number, make sure to save your changes. Look for a "Save" button.
Click on "Save" to confirm your new start invoice number.
By following these steps, you can easily change the start invoice number in InvoiceQuick to fit your business's invoicing needs. This allows you to have control over the numbering sequence for your invoices.